Streaming has now become incredibly popular than ever, with creators and gamers dashing to share their gaming experiences online.
And the most sought-after platform live streaming service for eSports and gaming is Twitch. Today, Twitch gets about 140 million active visitors in a month. This explains why the question “how to start streaming my PS4 on Twitch” crosses almost every gamer’s mind.
If that’s the same case for you, then this article is for you. Here, we’ll provide you with an easy step-by-step guide to help you start streaming your PS4 gameplay on Twitch. We’ll also give you a few tips to improve your stream.
So, let’s get started.
Stream my PS4 on Twitch Using the Broadcast Feature
In this method, we’ll be covering ways to broadcast your PS4 on Twitch using the Broadcast feature present in PS4.
The operating system of PS4 has an in-built feature called Broadcast. This feature lets you broadcast your gameplay automatically to Twitch, and it requires only a few steps to get started.
Live streaming using PS4’s Broadcast feature is a convenient and quick way to showcase your gameplay to the world instantly. Here’s a step-by-step guide to help you get started:
Link your accounts
You must first link your PS4 account with your Twitch account before streaming. Follow these steps to navigate to the account linking section and connect your accounts:
- Go to Settings on your PS4’s home screen
- Next, click on Account Management, and you’ll find an option to connect with other services. Click on it
- You’ll have the option to pick a service of your choice. In this case, select Twitch
- Now, follow the on-screen instructions that pop up and link your accounts
That’s pretty much it. Essentially, it’s just you authorizing the interaction between your PS4 and the Twitch service.
In addition, you’ll also have to authenticate your Twitch account. For that, you’ll either be scanning a QR code using your phone or entering a code on the computer. Once done, you’re set to begin streaming.
Customize your video settings
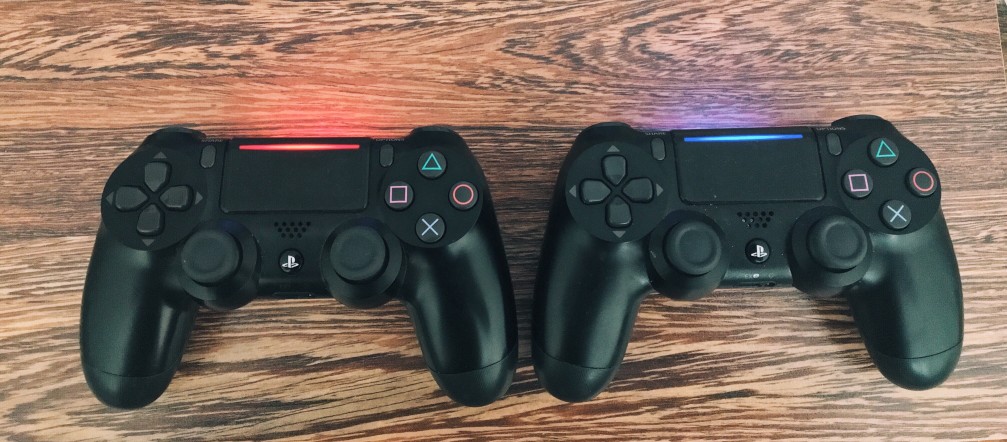
Now, you’ll have to launch a game that you wish to stream. Once done, you’ll have to click the Share button present on the PS4 controller. In doing so, the Share menu will appear on your screen. There, you have to click on Broadcast gameplay.
Worry not; the live stream won’t start right away.
You’ll be required to pick the platform you wish to stream on (select Twitch). Next, you’ll have to customize your stream.
There are that many settings, but you can still:
- Choose to include or exclude your webcam feed in the broadcast (provided you have connected the PS4 Camera to your console)
- Change your broadcast name and customize the video quality
- Allow the chat overlay to appear on the screen
- Enable your microphone
There’s also the option to share your live stream link on social media (if you have linked your PS4 account with your social accounts) or invite other PS Network gamers to your broadcast. Some other advanced settings are available too, but for most users, they aren’t necessary.
Go Live on PS4
Now, you can begin streaming your PS4 on Twitch by clicking on Start broadcasting.
If you face any issue, go to the share menu again and select the Broadcast settings option. There, you can adjust aspects of your live streaming without going offline.
Getting Multiplayer Audio From Your PS4
Note: If you’re streaming multiplayer gameplay and you want viewers to listen to what the whole team is saying, here’s what you can do:
- Go to Advanced Settings
- Select Audio Sharing Settings
- Now, tap on Share Party Audio
- Finally, you’re all set. Your viewers will now be able to listen to you and your entire team.
Tips to Enhance your PS4 Broadcast on Twitch
Now, here are a few tips that will you when streaming your gameplay.
Turn PS4 notifications off
While this may not seem like a huge deal, it’ll significantly improve the experience for your viewers. Here’s how you can turn the notifications off:
- Go to Settings
- Tap on Notifications
- Next, click on Pop-up Notifications
- Uncheck the option that allows pop-up notifications
Now, your viewers can enjoy your live streams without getting annoyed or distracted whenever you get a message.
Choose a quiet room
Another important tip is to make sure you’re streaming in a quiet room, where there isn’t any loud background noise. Otherwise, it’ll make it difficult for viewers to hear your voice or focus on the game.
Incessant background noise will make people annoyed and cause them to leave your broadcast even if they may have otherwise liked it.
Also, make sure the microphone is away from the console and near your face instead. PS4 isn’t a quiet console, and it tends to get louder when playing heavy graphic-intensive games.
Utilize a wired connection
Because live broadcast is done through the internet, it’s essential to have a fast and stable connection. That’s because it’ll allow you to offer a seamless, high-quality experience for your viewers.
Most streamers use Wi-Fi to connect their consoles to the internet. Though that’s more convenient, you’ll get a much faster and stable connection with a wired connection.
Plus, wired connections are pretty straightforward to set up. That said, the console must be relatively close to the router. Here’s what you can do:
- Get yourself an Ethernet cable (they’re quite inexpensive)
- Connect one end of the cable to any one of the internet router’s numbered ports
- Then connect the other end to the PS4’s Ethernet port
- Finally, open the PS4 Settings menu, select the option that lets you use the LAN cable.
Once done, your viewers will enjoy a smoother experience while watching your streams.
Conclusion
So, this concludes our guide on “how to stream my PS4 on Twitch.” Streaming using the Broadcast feature on PS4 is a convenient and quick way to broadcast your gameplay to the world.
We hope this guide helped provide you with everything there’s to know to start as a PlayStation 4 streamer.

